These are the supplies that you will find in my studio. I've included links to retail suppliers for your convenience. This is going to be a rather long post, I will talk more in depth about some of my supplies as I use them in tutorials or in another article.
My Squidoo lens will tell you more about Carbon, Charcoal, and Graphite...why they are different and when it is best to use each.
Graphite: Pencils, Power, and Crayon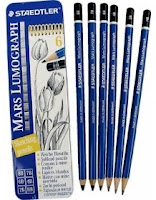
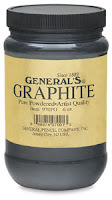

Graphite: I've used several brands of Graphite Pencils over the years, the Mars Lumograph has remained my favorite. Graphite Powder...This isn't something I use frequently, but when I do I'm very glad that I have it. I simply put a small amount in the lid and apply it using an artist brush. Graphite Crayons are handy for covering large areas and also perfect for building your "graphite farm".
Charcoal: Pencils, Powder, and Sticks
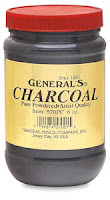
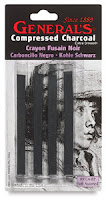
Charcoal: I have used Generals Charcoal Pencils from the beginning...as with all charcoal pencils there is some "grittiness". General now has a new charcoal pencil called Premo that is said to be smother but I haven't tried it yet. The Charcoal Powder and Sticks are used in the same manner as for the graphite mentioned above.
Carbon Pencils: I've never been able to find carbon powder...I keep hoping.

Carbon Pencils: Wolf's and Conte: The most influential item on my drawing table is the Wolf's Carbon Pencil. I've tried others but always come back to Wolf's...you just can't beat it's silky texture or the beautiful deep rich darks it produces. I also use Conte Carbon Pencils once in a while...their color is somewhat warmer than Wolf's and their texture is a little firmer.
Blenders: use anything except your "finger".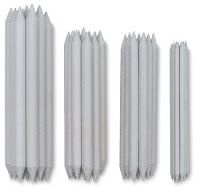
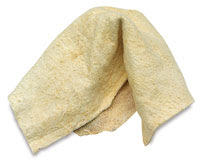
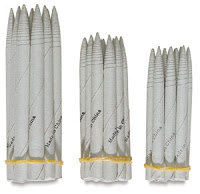
Blenders: The ones I use most.
If you don't learn anything else from this segment...I hope it is this! NEVER use your finger as a blending tool. Your finger will leave oil on the paper, making the color 'grab". This will sometimes cause actual finger prints to appear. Stumps: (upper left), are pointed on both ends and have a smooth, felt like covering. I buy these by the box...size 4, 5, and 2. Tortillon: (lower left), are made of rolled paper and come to a point on one end. These are purchased by the dozen...size small, medium, and large. The stump and tortillon may look similar but are really quite different, and used for very different types of blending. Chamois Cloth: Others have said that you must purchase these from an art supply house...I have found the ones from the automotive department work just fine...and much less expensive. In fact their random texture can be to your advantage.
Studio Notes: The stump, tortillon, and chamois are all three used to both blend and to apply color to your drawing. Other blenders I use that are not pictured here are felt squares, artist brushes, non oily tissue, cotton swabs, paper towels, etc., (anything you can think of to create the desired texture "except your finger")
Erasers: as important as your pencils for making marks.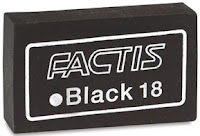
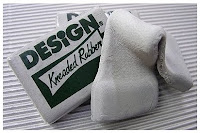


Erasers: I didn't know I had so many but I use each differently as a "marking" tool.
Starting left to right: The Factis...made especially for charcoal and graphite. The Kneaded Eraser...will last forever, can be pulled and shaped to fit the smallest of areas. The Union Eraser...(pencil and ink combo)...when the ink end is cut with a blade it can pull out the skinniest of lines...The Pink Bear...is stronger than the "pink pearl", I use it the same as the union and factis to make marks. The Sakura Cordless Electric Eraser...used for lifting highlights in the darkest of areas (when nothing else will work). This is a must. The refills come for pencil or ink, I use both. Tuff Stuff Click Eraser...a fresh cut edge on this eraser will again pull nice skinny lines, great for making light hairs. The pencil shape makes for more accurate use. Bostik Blue Tack ...This is not an eraser, but a sticky putty...used in a dabbing motion to pull out highlights. It can be stretched and shaped just like a kneaded eraser. It's also great for picking up that one little speck that wont shake off...and does it without a smear.
Pencil Sharpeners: Oh so many to choose from!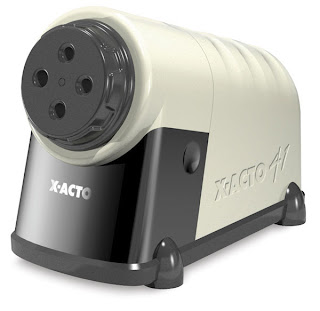
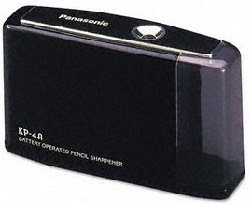
Pencil Sharpeners: Your choice will depend on how much and where you draw.
Pencil Sharpeners can range from the Heavy-duty Work Horse to a simple Sandpaper Block. I'll begin with the work horse (upper left). The X-ACTO Heavy-duty 41...I didn't start out with a work-horse, but I did buy something similar to the one shown above after a year or so, having gone through several smaller, less expensive, ones. When you're ready to make this type of investment just make sure it will take more than one size of pencil. The Panasonic KP 4A...this is what I started with and still carry it in my tote. A good little sharpener, I just like it's size and shape. 
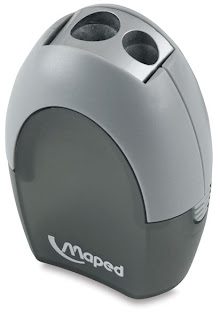
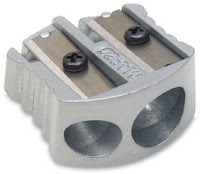
The Maped Canister Pencil Sharpener...This would be another good traveler. The Maped is a small hand held sharpener with two holes. The best part is that it catches the shavings and has a metal housing. The Alvin Hand Held Metal Sharpener...this little guy is another great traveler, a little messy, but a small plastic bag can fix that! The Sandpaper Block...I have carried one of these in my art tote for years. It works great to bring your pencil back to "point". On my drawing table I keep a square of sandpaper from the hardware store.
Drawing Papers: your drawing style will always dictate your choice of paper.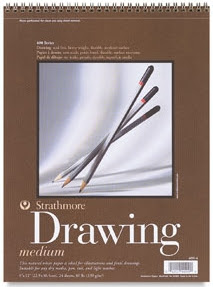
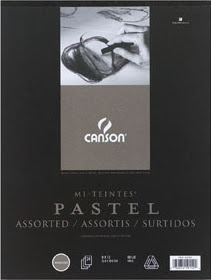
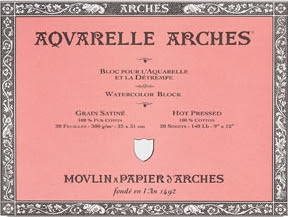
Your Drawing paper is very Personal:
J. D. Hillberry says in his book "Don't let the paper be the boss". If you keep this in mind, you will do just fine. The papers shown above are just three from my stash...and I'll admit that I'm a paper junkie. Your paper choice will effect your drawing every bit as much as your technique. My drawing technique requires a paper with some texture or "tooth" to it. If you have a more "photo realistic" style you may want to try a smother textured surface such as bristol vellum. I also happen to prefer a warmer toned paper rather than white. Canson Mi-Teintes...are fun to work with and come in a full range of soft colors. I still often use Strathmore 400...this paper has a soft cream tone, is acid free and comes in a pad with 80# sheets or you can individually order 100# sheets. Arches Hot Press Watercolor Paper...I usually 300#, 140# is fine too, you can purchase it in pads or by the sheet. Experiment, don't be afraid to try a new surface, and most of all have fun!
Miscellaneous Studio Essentials?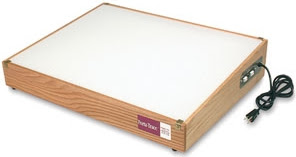
Essentials or Extras?
I use most of the items shown here regularly. Yet some could certainly be considered extras for the beginning artist.
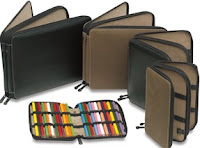
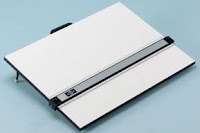
The Light Box...I use a light regularly to see greater details in my photos and to occasionally transfer my initial layout drawing onto my good drawing paper. Leather Pencil Case...this was a wonderful find. I restructured the inside a little by cutting the threads holding some of the elastic in place, allowing my larger drawing necessities to fit better, making it perfect for travel. The Drawing Board...I personally use a drawing table now but in the beginning I didn't have a anywhere that I could just walk away from my work and leave it...this allowed for easy mobility. I could just pick up what I was working on and and move.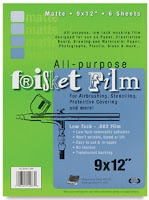
 Frisket Film...this is something that I've not used often, but was glad to have it when I need it. Magnifying Glass on a Stand...mine is a little different than this and less expensive, (mine is no longer available.) The important thing that you need to notice is that it is on a "stand". I hang my photo reference on it with tape, so that my hands are then free to draw. (I don't know how I ever got along with out this.)


 Workable Fixitive...the final step for every drawing to help protect it from smudging, I spray two light coats when I'm finished. Compass...I frequently use this to check measurements. Hake Brush...used to gently brush residue off your drawing. Pencil Extender...prevents waste by making short pencils easier to use. Turquoise Clutch Pencil...I use this for indenting, by inserting a darning needle "point first" into the clutch end (where the lead goes), leaving the "eye" of the needle exposed.
Carpet Tape...(the thin double-sided plastic type, not cloth or padded). This is a trick that I learned from J. D. Hillberry. I tear a piece of computer paper just large enough to fit along the side of my hand, (from the tip of the little finger to start of wrist and about 2 1/2 inches wide). You want to cover the side part of your hand that lays on the paper when you draw. I put the carpet tape in the middle of this piece of paper and mold it to the side of my hand...protecting my drawing paper while I work. It can even be removed and reused.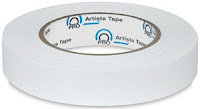
 Artist Tape...this is what I use around the outer edge of my drawing to give it a nice clean straight border when I am finished. The trick is to stick it to your shirt first and remove it, (repeat this several times). Doing this will dull the tackiness of the tape, making it easy to remove later from your drawing paper without causing damage.
Pencil Point Protectors... These are inexpensive little things and great to have when traveling. I keep one on all the pencils in my leather pencil case that I keep in my tote.
Somewhere in the future one or more of these products may no longer be available...causing a "dead" link. I would sure appreciate it if you would notify me in this situation. If you have other questions about any of the art supplies listed here, please don't be shy about asking. No question is too small or unimportant.
Thanks for your interest.
PS...make a "Point"...leave a comment
Hello Again - A New Year, A Fresh Beginning
1 week ago


5 comments:
What amount of pencils does your leather pencil case hold? please reply ASAP! I loved your blog by the way!
An anonymous admirer
If you'll click on the link provided it will take you to an information page about the pencil case. It comes in several different sizes.
This case is really quite nice...if you purchase one a little bigger than what you need there'll be room for some of your other "necessary" drawing supplies.
Anonymous ask which pencil case I use...I ended up purchasing the 72 capacity. This works best for me, holding three types of pencils, a sharpener, various erasers, felt, chamois, and an assortment of stumps and tortillons.
I'm a beginning artist who has been totally inspired by J.D. Hillberry and, quite frankly, yourself! I "found" you on J.D.'s website and am thoroughly enjoying yours :-)
I cannot tell you how much I appreciate this listing of your tools. There is so much out there to decide on and choose from! Sharing your experience and wisdom with us can save us so much valuable time and money.
Thank you!!
i recently mastered CHARCOAL PAinting- there in a small place in kerala where i were just introduced to minimal equipments like charcoal powder, paper stumbs and a hand made paper, the cheap classes i have ever come across.
now thanks that i went through the Blog, and gave me ideas where there is possibility to highlighten area, graphite n carbon also got introduced and hopefully i shall do it in no time.
however i need a suggestion from you on hw would an African FAce , react to Graphite touches!! that one of my fantasies which lead me learn this creativity
Post a Comment